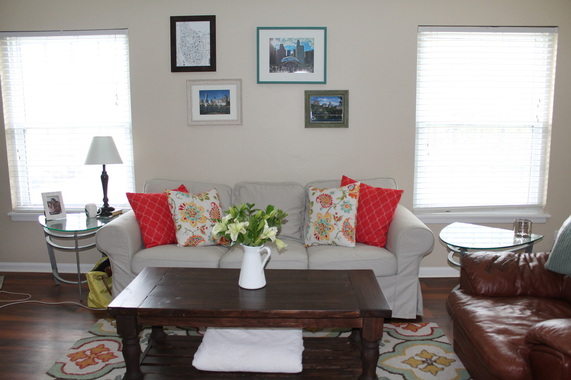
This week's #EpEx14 is a little different than the first three weeks. As I mentioned in the very first #EpEx14 post, our "bucket list" consists exploring new places but also exploring new projects. A project Caleb and I have been wanting to tackle for quite some time now was to build our own coffee table! We finally took the plunge last weekend and started on it.
Build a Coffee Table
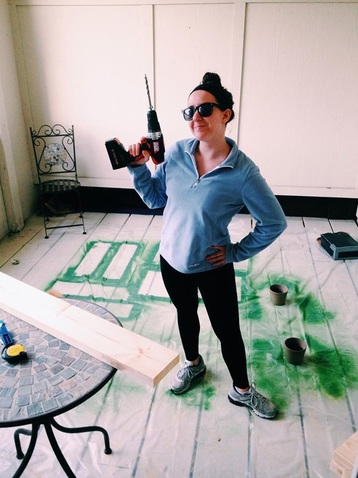
<< Yeah I'm silly...
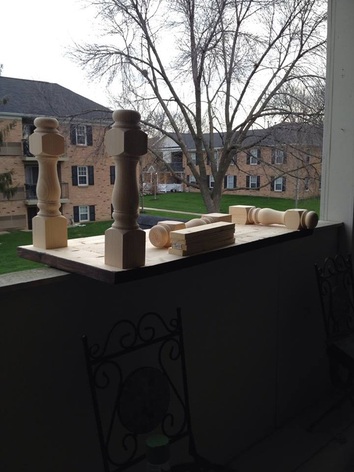
We started out by going to Menards and purchasing six 6"x2" boards, one 3"x1" board, and wood stain. We ordered the table legs from Osbourn Wood. Caleb also went out and purchased a drill, a saw, wood screws, sand paper, wood glue and a Kreg Jig. After we had all our materials and tools, we got to work. Caleb measured out four of the 6"x2" planks to our desired length (we went with 38" because we wanted a 50" table). Once all of those were cut, we used the Kreg Jig to drill holes in to the bottom of the planks so we could screw them together. I, yes ME, used the drill to put 3 holes in the bottom of 3 out of the 4 we cut. Once the holes were in each of them, Caleb put some wood glue on the edge of each plank and drilled in the wood screws through each of the 3 holes to screw them together. Next, we cut the 6"x2" edge pieces (we went with 24"). We put 4 holes with the Kreg Jig in each of those two pieces to screw them to the short edges of the piece we already screwed together. Voia, that was the top of the table! (See below)
<< Yeah I'm silly...
We started out by going to Menards and purchasing six 6"x2" boards, one 3"x1" board, and wood stain. We ordered the table legs from Osbourn Wood. Caleb also went out and purchased a drill, a saw, wood screws, sand paper, wood glue and a Kreg Jig. After we had all our materials and tools, we got to work. Caleb measured out four of the 6"x2" planks to our desired length (we went with 38" because we wanted a 50" table). Once all of those were cut, we used the Kreg Jig to drill holes in to the bottom of the planks so we could screw them together. I, yes ME, used the drill to put 3 holes in the bottom of 3 out of the 4 we cut. Once the holes were in each of them, Caleb put some wood glue on the edge of each plank and drilled in the wood screws through each of the 3 holes to screw them together. Next, we cut the 6"x2" edge pieces (we went with 24"). We put 4 holes with the Kreg Jig in each of those two pieces to screw them to the short edges of the piece we already screwed together. Voia, that was the top of the table! (See below)
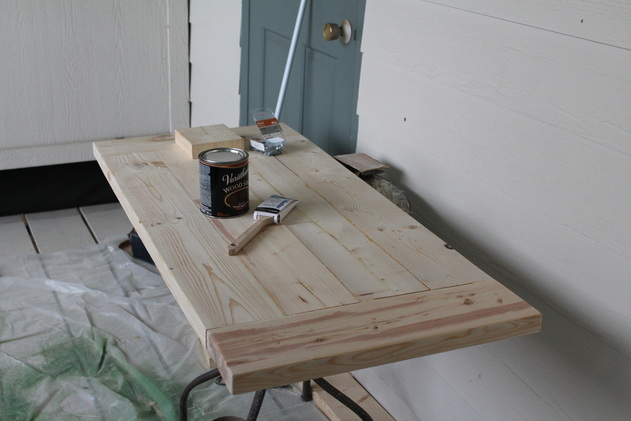
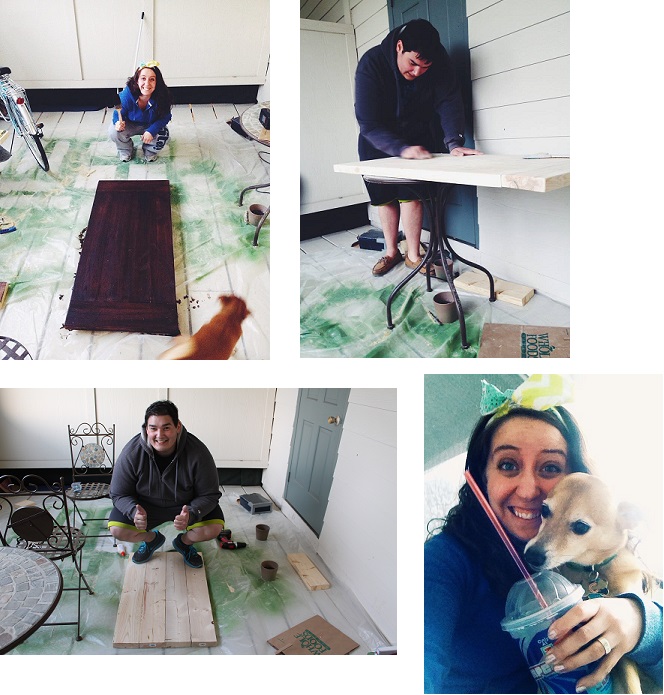
Next we sanded and stained the table top. We used Varathane Premium Dark Walnut stain. We wanted our table really dark, so we just let the stain dry instead of wiping it off like the instructions on the can said. We only needed one coat, too.
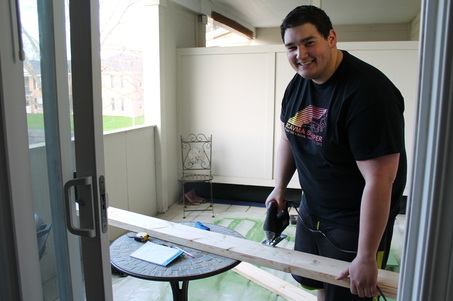
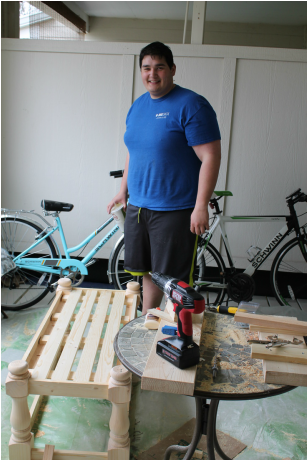
Next, Caleb started on the frame. He cut the 2"x1" board in to two 42" pieces and two 16" pieces. Our legs were 4" thick, so that is why those dimensions are smaller than the table top ones. Once those were cut we drilled more holes in to them so we could screw them to the legs. We also had to go to Lowes to purchase some more wood for the bottom of the table. We got four more 3"x1" boards and a 3"x3" board. Caleb cut the 3"x3" board in to four pieces, two were 42" and two were 16". He used that as the bottom base. We screwed those in to the legs, too.
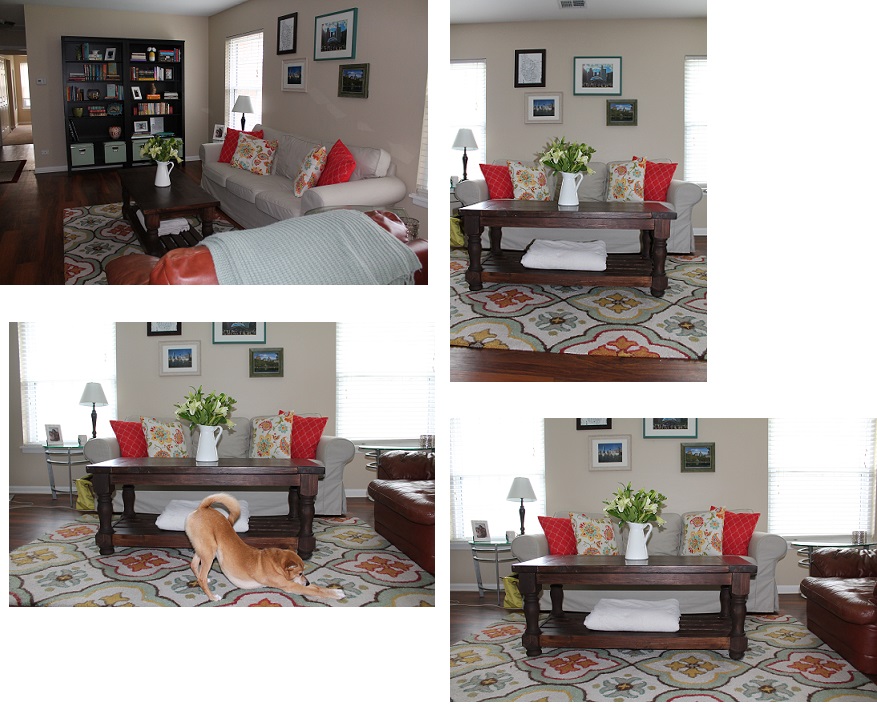
Once the frame was built, Caleb took the 3"x1" boards and cut them in to four 44" pieces and three 18" pieces. the 18" pieces were used for bottom support under the 44" pieces. See the picture to the left to see exactly what I mean. Once those were drilled in and the top was glued and screwed in, the table itself was done! After that, we sanded everything to make sure we wouldn't get splinters and that everything would be even. Then we stained it and let it dry for a day. The next day we used Rust-Oleum Polyurethane Matte finish to seal in the wood stain. We waited another day and then put a second coat of the matte finish on. That was it! Our table was finished. It was a bit of a long process with having to wait for things to dry, but it was a fun and new experience. It turned out better than we imagined, and we're so excited to have it in our living room now!
Shopping list:
**All these materials (with the exception of the drill and saw) were less than $200. You can have your very own "Pottery Barn" table for yes, a weeks worth of work and less than $200!
- Five 6"x2" boards
- Four legs
- Five 3"x1" board
- One 3"x3" board
- Kreg MKJKIT Mini Kreg Jig Kit
- Wood screws
- Wood glue
- Sand paper
- Wood stain
- A drill
- A saw
- A paint brush
- Polyurethane finish
**All these materials (with the exception of the drill and saw) were less than $200. You can have your very own "Pottery Barn" table for yes, a weeks worth of work and less than $200!
Happy Monday and Happy Building!